APISIX 是一款基于 Openresty 的动态、实时、高性能 API 网关,它提供了负载均衡、服务熔断等丰富的功能。
安装服务
在 https://github.com/apache/apisix-docker 中提供了很多很便利的 docker 配置,可以很方便的启动 APISIX 的相关服务。
1
2
3
4
5
6
7
8
9
10
11
| ~ git clone git@github.com:apache/apisix-docker.git
~ cd apisix-docker/example/
~ docker-compose up
Starting example_etcd_1 ... done
Starting example_grafana_1 ... done
Starting example_apisix-dashboard_1 ... done
Starting example_web2_1 ... done
Starting example_web1_1 ... done
Starting example_prometheus_1 ... done
Starting example_apisix_1 ... done
Attaching to example_grafana_1, example_etcd_1, example_apisix-dashboard_1, example_web1_1, example_web2_1, example_prometheus_1, example_apisix_1
|
如上启动了 7 个容器,分别是:
- 配置中心:etcd
- 展示 prometheus 的指标:grafana
- apisix 的管理控制台:apisix-dashboard
- 测试服务:web2
- 测试服务:web1
- 采集 apisix 的指标:prometheus
- apisix 本体
接下来我们可以测试一下 apisix
1
2
| ~ curl http://127.0.0.1:9180/apisix/admin/routes -H 'X-API-KEY: edd1c9f034335f136f87ad84b625c8f1'
{"total":0,"list":[]}
|
如上命令用于查看 apisix 的所有路由信息,使用默认的 API-KEY。
使用 Admin API 管理路由
路由用于通过规则匹配客户端的请求,并根据请求加载相应的插件,最后将请求转发到指定的上游服务。由此可知路由由三部分组成
- 客户端请求的匹配规则:包含
method、host、uri 等 - 插件,例如流控、安全认证等等,插件是可选的
- 上游服务
APISIX 的 Admin 接口都采用了 Restful 风格,路由资源的地址为 /apisix/admin/routes/{id},它的操作接口如下
| 方法 | 路径 | 功能 |
|---|
| GET | /apisix/admin/routes | 获取资源列表 |
| GET | /apisix/admin/routes/{id} | 获取指定资源 |
| PUT | /apisix/admin/routes/{id} | 根据指定 id 创建资源 |
| POST | /apisix/admin/routes | 创建资源,id 自动生成 |
| DELETE | /apisix/admin/routes/{id} | 删除指定 id 的资源 |
接下来我们创建一个上游为 web1 的路由
1
2
3
4
5
6
7
8
9
10
11
12
13
14
15
16
| ~ curl -X PUT http://127.0.0.1:9180/apisix/admin/routes/1 \
-H 'X-API-KEY: edd1c9f034335f136f87ad84b625c8f1' -i -d '
{
"methods": ["GET"],
"uri": "/web1",
"upstream": {
"type": "roundrobin",
"nodes": {
"web1:80": 1
}
}
}'
HTTP/1.1 201 Created
...
{"key":"/apisix/routes/1","value":{"status":1,"methods":["GET"],"id":"1","priority":0,"uri":"/web1","update_time":1706606490,"upstream":{"scheme":"http","hash_on":"vars","type":"roundrobin","nodes":{"web1:80":1},"pass_host":"pass"},"create_time":1706606490}}
|
返回 201 表示创建成功,之后我们可以访问这个新建的路由接口
1
2
| ~ curl http://127.0.0.1:9080/web1
hello web1
|
上游(Upstream)
除了直接使用服务之外,为了方便,我们还可以把服务的资源直接定义为一个上游(Upstream)
1
2
3
4
5
6
7
8
9
10
11
12
| ~ curl -X PUT http://127.0.0.1:9180/apisix/admin/upstreams/1 \
-H 'X-API-KEY: edd1c9f034335f136f87ad84b625c8f1' -i -d '
{
"type": "roundrobin",
"nodes": {
"web1:80": 1
}
}'
HTTP/1.1 201 Created
...
{"key":"/apisix/upstreams/1","value":{"scheme":"http","create_time":1706606769,"hash_on":"vars","id":"1","type":"roundrobin","update_time":1706606769,"pass_host":"pass","nodes":{"web1:80":1}}}
|
如上我们把 web1 这个服务定义为上游(Upstream)1,之后我们可以直接使用这个上游构建路由
1
2
3
4
5
6
7
8
9
10
11
| ~ curl -X PUT http://127.0.0.1:9180/apisix/admin/routes/1 \
-H 'X-API-KEY: edd1c9f034335f136f87ad84b625c8f1' -i -d '
{
"methods": ["GET"],
"uri": "/web1",
"upstream_id": "1"
}'
HTTP/1.1 200 OK
...
{"key":"/apisix/routes/1","value":{"upstream_id":"1","methods":["GET"],"status":1,"priority":0,"uri":"/web1","update_time":1706606904,"id":"1","create_time":1706606490}}
|
之后访问地址还是一样的效果
1
2
| ~ curl http://127.0.0.1:9080/web1
hello web1
|
查看我们刚刚创建的路由和上游
1
2
3
4
| ~ curl http://127.0.0.1:9180/apisix/admin/upstreams -H 'X-API-KEY: edd1c9f034335f136f87ad84b625c8f1'
{"total":1,"list":[{"key":"/apisix/upstreams/1","value":{"scheme":"http","create_time":1706607099,"hash_on":"vars","nodes":{"web1:80":1},"type":"roundrobin","id":"1","pass_host":"pass","update_time":1706607099},"createdIndex":35,"modifiedIndex":35}]}
~ curl http://127.0.0.1:9180/apisix/admin/routes -H 'X-API-KEY: edd1c9f034335f136f87ad84b625c8f1'
{"total":1,"list":[{"key":"/apisix/routes/1","value":{"create_time":1706607103,"methods":["GET"],"id":"1","priority":0,"uri":"/web1","upstream_id":"1","update_time":1706607103,"status":1},"createdIndex":36,"modifiedIndex":36}]}
|
我们还可以删除我们刚刚创建的路由和上游
1
2
3
4
| ~ curl -X DELETE http://127.0.0.1:9180/apisix/admin/routes/1 -H 'X-API-KEY: edd1c9f034335f136f87ad84b625c8f1'
{"key":"/apisix/routes/1","deleted":"1"}
~ curl -X DELETE http://127.0.0.1:9180/apisix/admin/upstreams/1 -H 'X-API-KEY: edd1c9f034335f136f87ad84b625c8f1'
{"key":"/apisix/upstreams/1","deleted":"1"}
|
插件
APISIX 支持很多插件,以常见的流控插件为例
1
2
3
4
5
6
7
8
9
10
11
12
13
14
15
16
17
18
19
20
21
22
23
| ~ curl -X PUT http://127.0.0.1:9180/apisix/admin/routes/1 \
-H 'X-API-KEY: edd1c9f034335f136f87ad84b625c8f1' -i -d '
{
"methods": ["GET"],
"uri": "/web1",
"plugins": {
"limit-count": {
"count": 2,
"time_window": 10,
"rejected_code": 503,
"key": "remote_addr"
},
"prometheus": {}
},
"upstream": {
"type": "roundrobin",
"nodes": {
"web1:80": 1
}
}
}'
HTTP/1.1 200 OK
...
|
如上创建了一个路由,它使用了插件 limit-count,参数表示每个远程地址每 10 秒钟最多请求两次,否则就会得到 503 错误。我们测试可以看到请求两次之后就开始报 503 错误,等待一会儿之后服务又恢复了
1
2
3
4
5
6
7
8
9
10
11
12
13
14
15
16
17
18
19
20
21
22
| ~ curl http://127.0.0.1:9080/web1
hello web1%
~ curl http://127.0.0.1:9080/web1
hello web1%
~ curl http://127.0.0.1:9080/web1
<html>
<head><title>503 Service Temporarily Unavailable</title></head>
<body>
<center><h1>503 Service Temporarily Unavailable</h1></center>
<hr><center>openresty</center>
<p><em>Powered by <a href="https://apisix.apache.org/">APISIX</a>.</em></p></body>
</html>
~ curl http://127.0.0.1:9080/web1
<html>
<head><title>503 Service Temporarily Unavailable</title></head>
<body>
<center><h1>503 Service Temporarily Unavailable</h1></center>
<hr><center>openresty</center>
<p><em>Powered by <a href="https://apisix.apache.org/">APISIX</a>.</em></p></body>
</html>
~ curl http://127.0.0.1:9080/web1
hello web1%
|
与上游类似,我们也可以定义一个 插件配置,之后在路由中直接使用
1
2
3
4
5
6
7
8
9
10
11
12
13
14
15
16
| ~ curl http://127.0.0.1:9180/apisix/admin/plugin_configs/1 \
-H 'X-API-KEY: edd1c9f034335f136f87ad84b625c8f1' -X PUT -i -d '
{
"desc": "enable limit-count plugin",
"plugins": {
"limit-count": {
"count": 2,
"time_window": 10,
"rejected_code": 503
}
}
}'
HTTP/1.1 201 Created
...
{"key":"/apisix/plugin_configs/1","value":{"create_time":1706607965,"desc":"enable limit-count plugin","plugins":{"limit-count":{"count":2,"time_window":10,"key_type":"var","rejected_code":503,"policy":"local","allow_degradation":false,"show_limit_quota_header":true,"key":"remote_addr"}},"id":"1","update_time":1706607965}}
|
如上定义了一个 id 为 1 的插件,之后我们使用它构建一个路由
1
2
3
4
5
6
7
8
9
10
11
12
| ~ curl -X PUT http://127.0.0.1:9180/apisix/admin/routes/1 \
-H 'X-API-KEY: edd1c9f034335f136f87ad84b625c8f1' -i -d '
{
"methods": ["GET"],
"uri": "/web1",
"upstream_id": "1",
"plugin_config_id": "1"
}'
HTTP/1.1 200 OK
...
{"key":"/apisix/routes/1","value":{"create_time":1706607103,"plugin_config_id":"1","priority":0,"update_time":1706608060,"methods":["GET"],"uri":"/web1","upstream_id":"1","status":1,"id":"1"}}
|
之后访问地址 http://127.0.0.1:9080/web1 的效果和前面是一样的。
Dashboard
apisix 还可以使用 Dashboard 来管理路由,浏览器访问http://127.0.0.1:9000即可
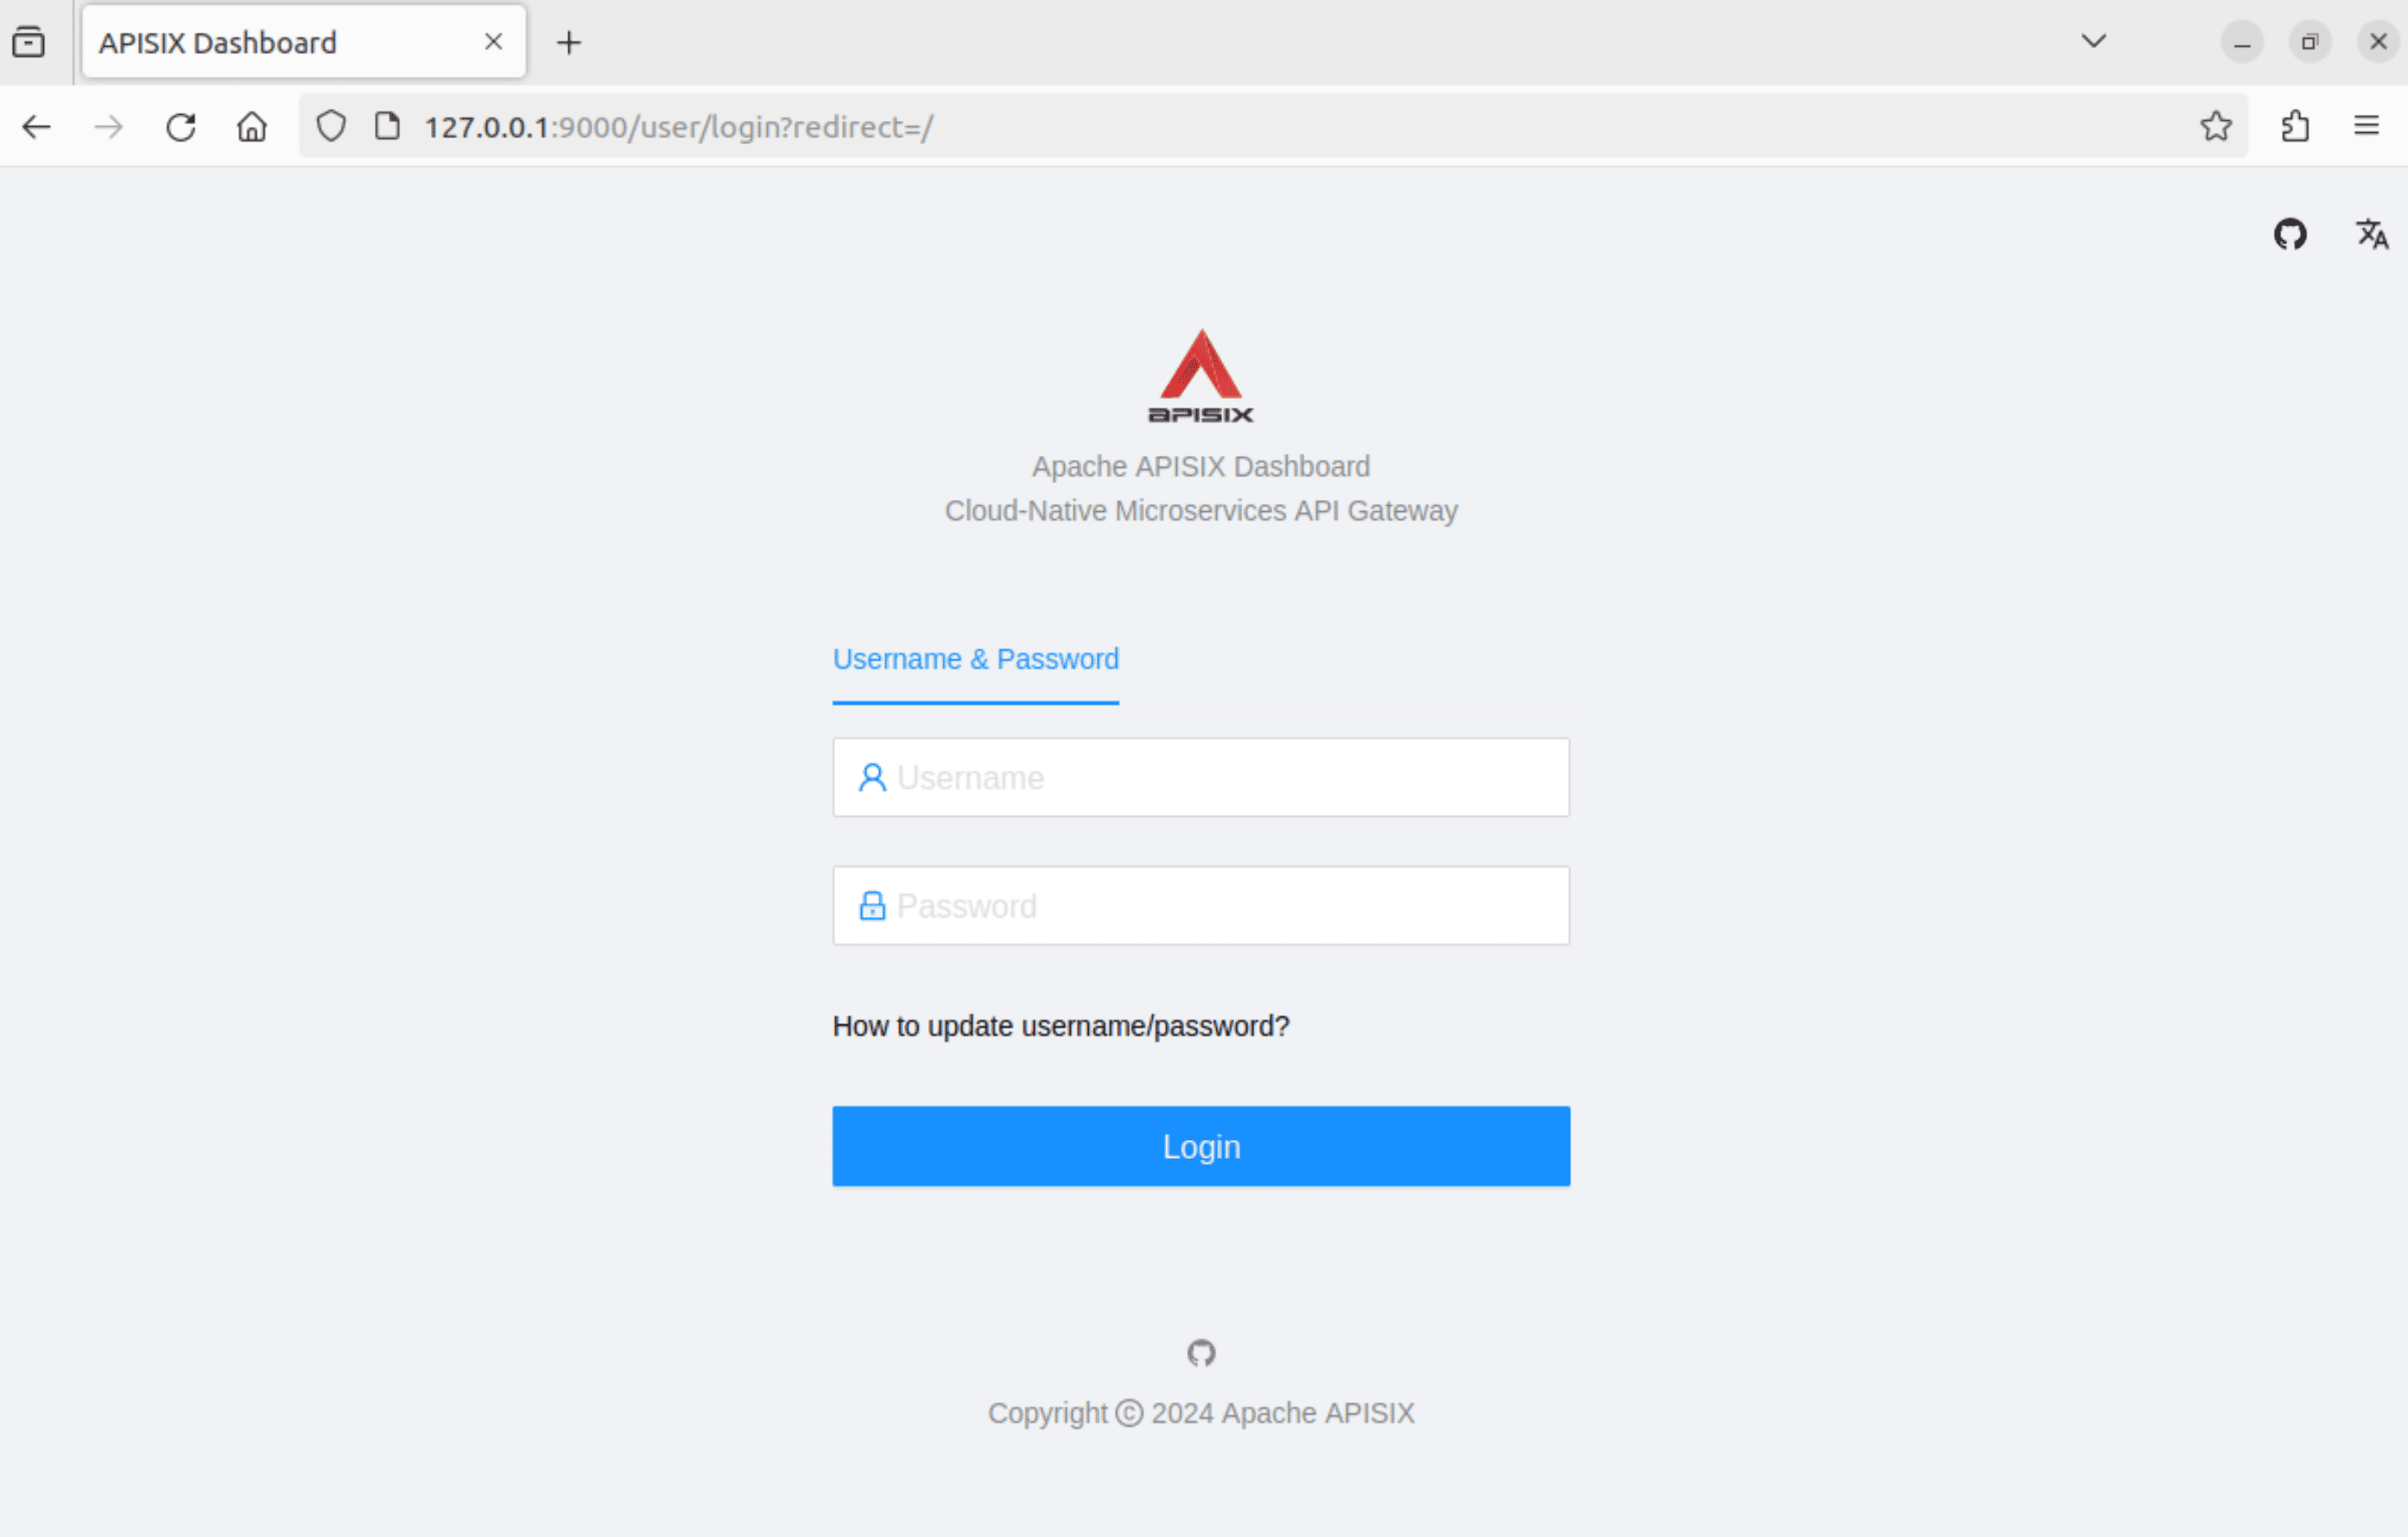
默认的用户名和密码都是 admin。登录之后我们就可以进行管理了,例如要新建一个路由
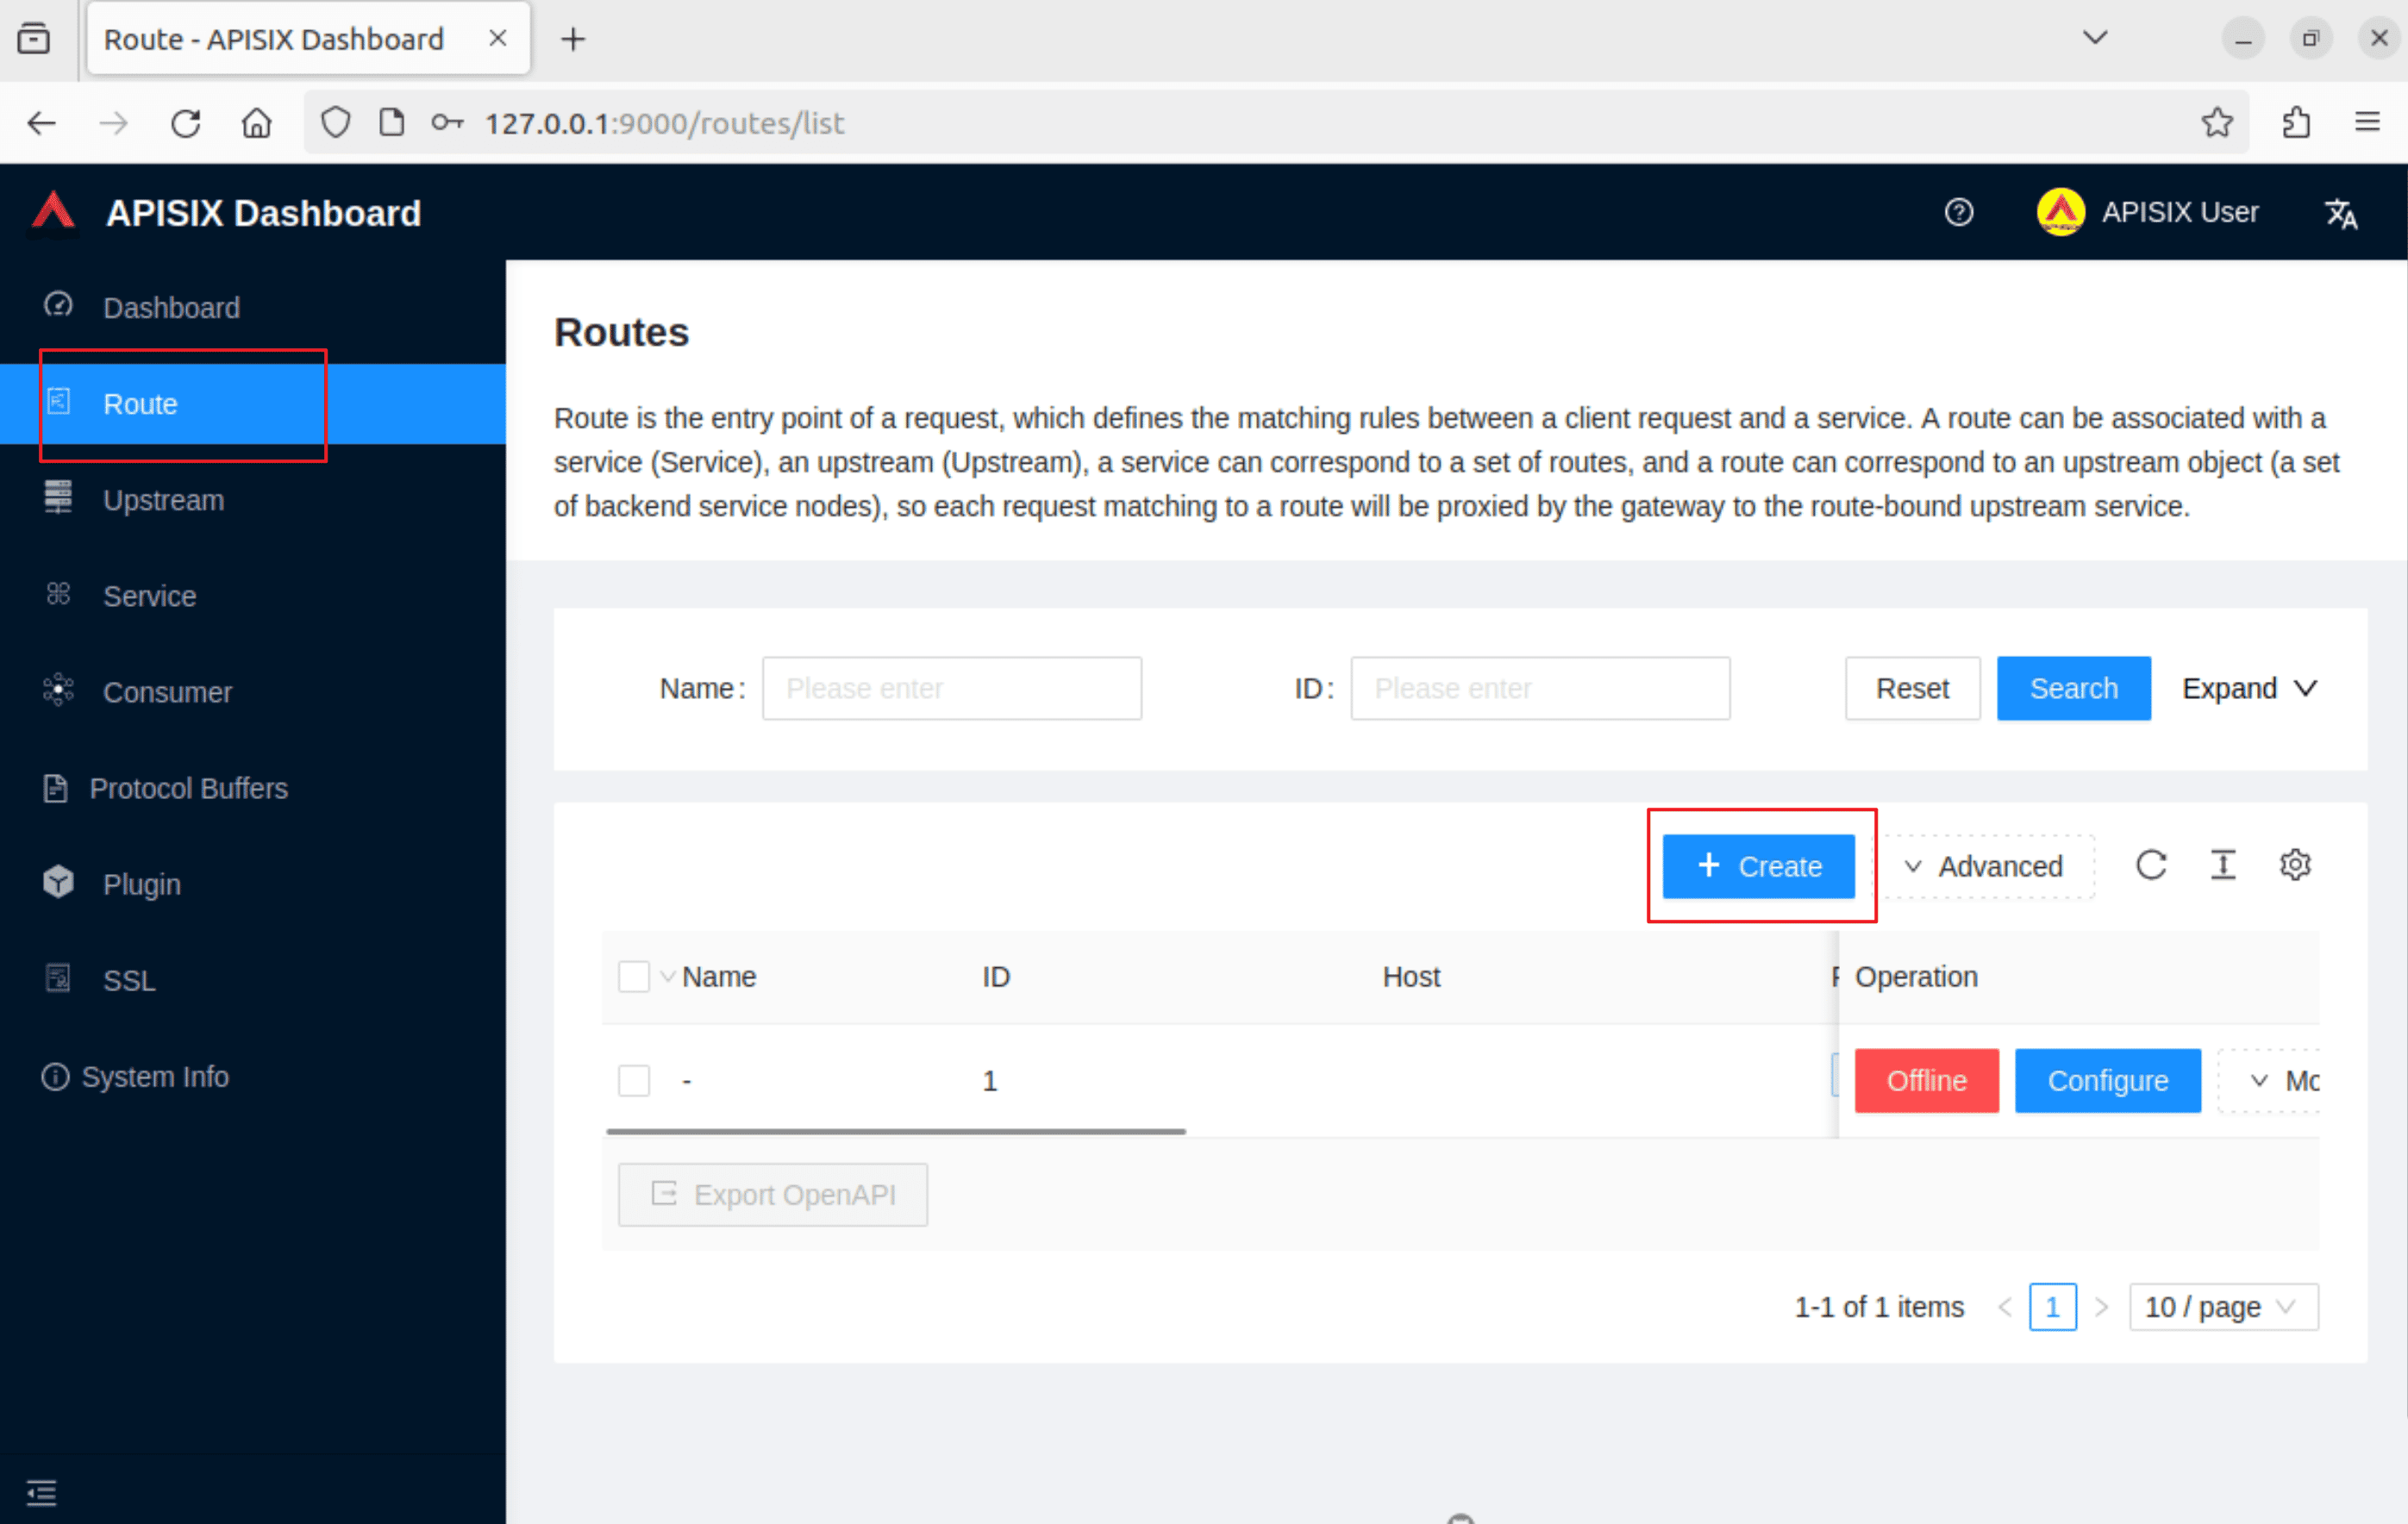
我们依次设置路由的名称、path、method 以及上游信息

创建完成之后就可以在路由列表看到我们刚刚创建的路由了

之后访问我们刚刚创建的路由,和使用 AdminAPI 创建的效果是一样的
1
2
| ~ curl http://127.0.0.1:9080/web2
hello web2
|
参考
APISIX 使用小记
https://apisix.apache.org/docs/apisix/admin-api/
本文链接: https://www.nosuchfield.com/2023/10/12/APISIX-usage/