树莓派3b安装系统
去地址https://www.raspberrypi.org/downloads/raspbian/下载树莓派的操作系统镜像,这里我选择的是Raspbian Buster Lite类型的镜像,你可以通过如下的磁力链接直接下载该镜像
magnet:?xt=urn:btih:2213F24BCA4031663B3DFA99FB554DCE8CFCB5DA
下载了镜像之后我们可以通过工具balenaEtcher把我们的镜像写入到树莓派的SD卡中去,具体步骤如下。
选择我们之前下载的镜像(即zip文件)以及相应的SD卡
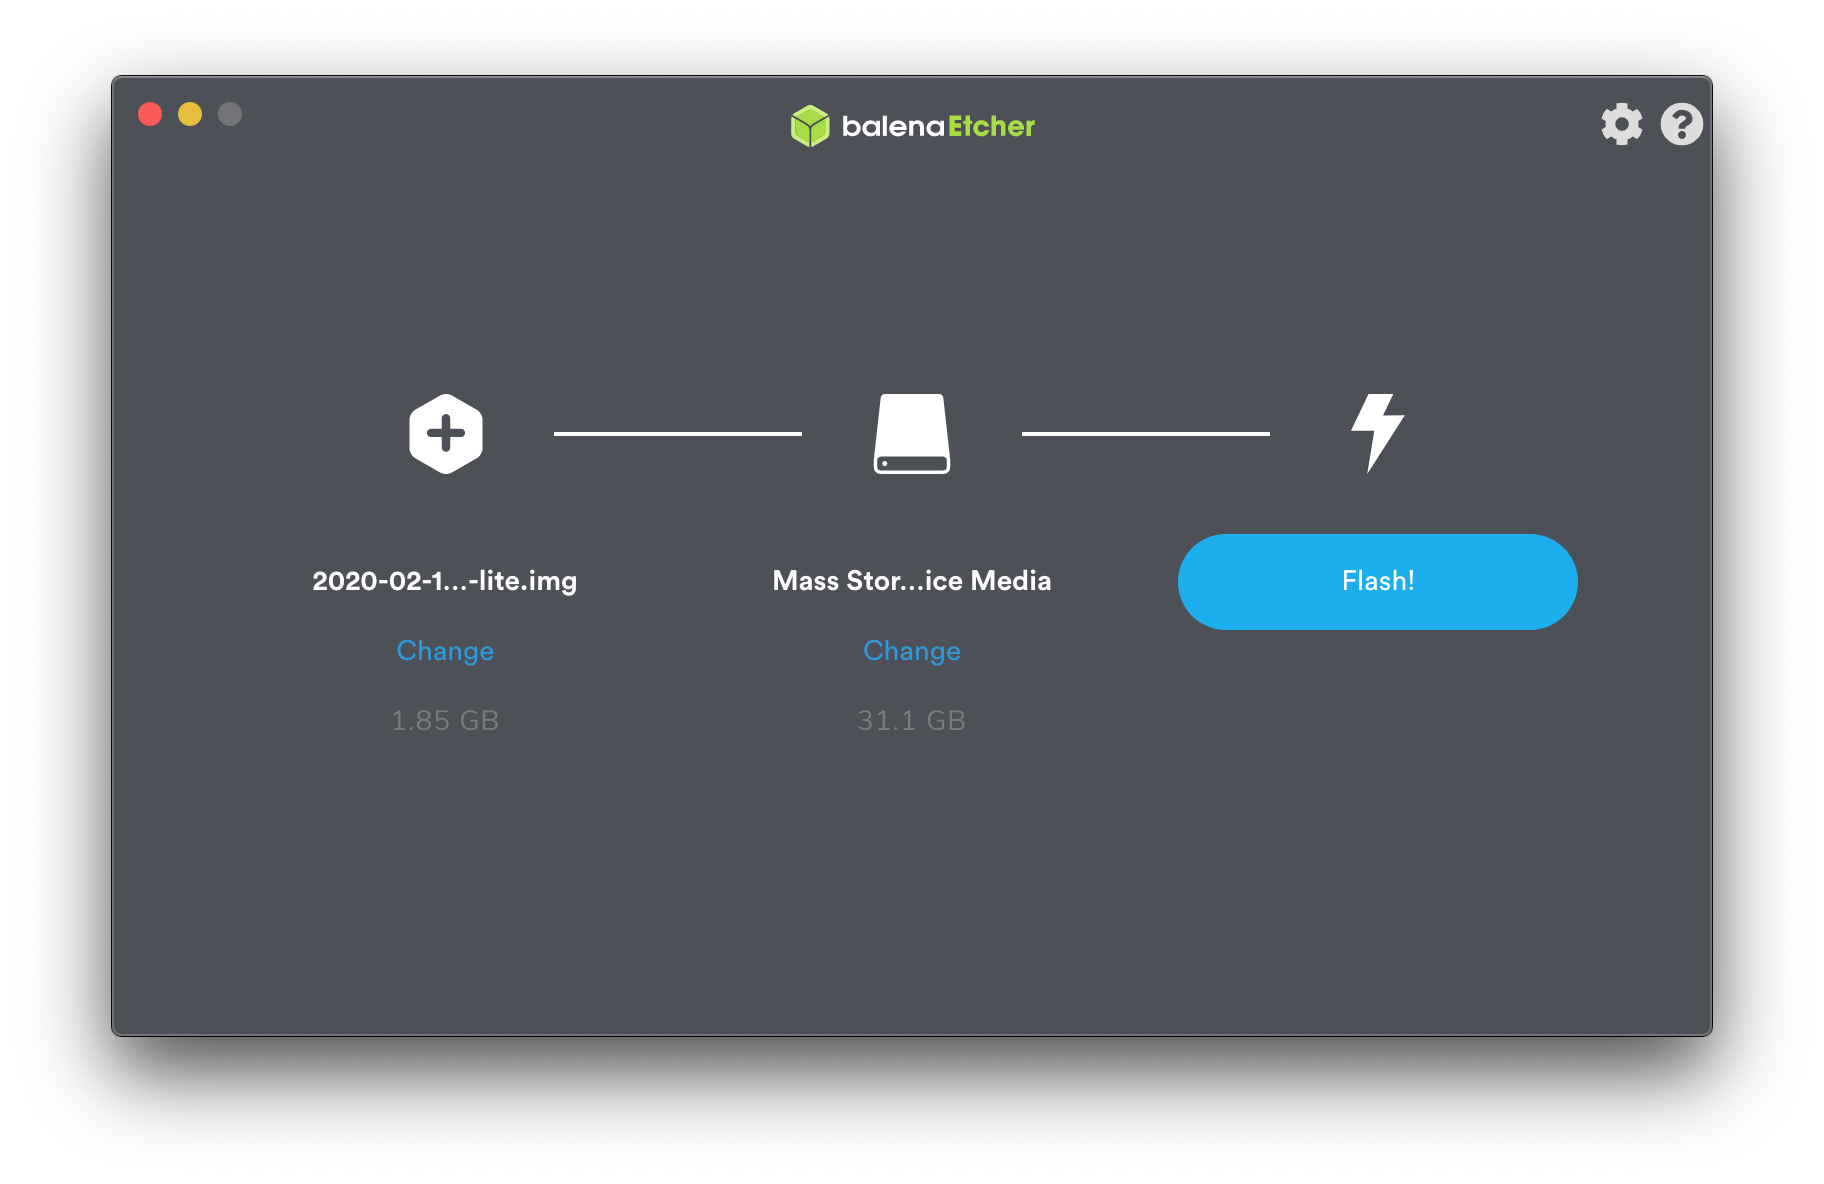
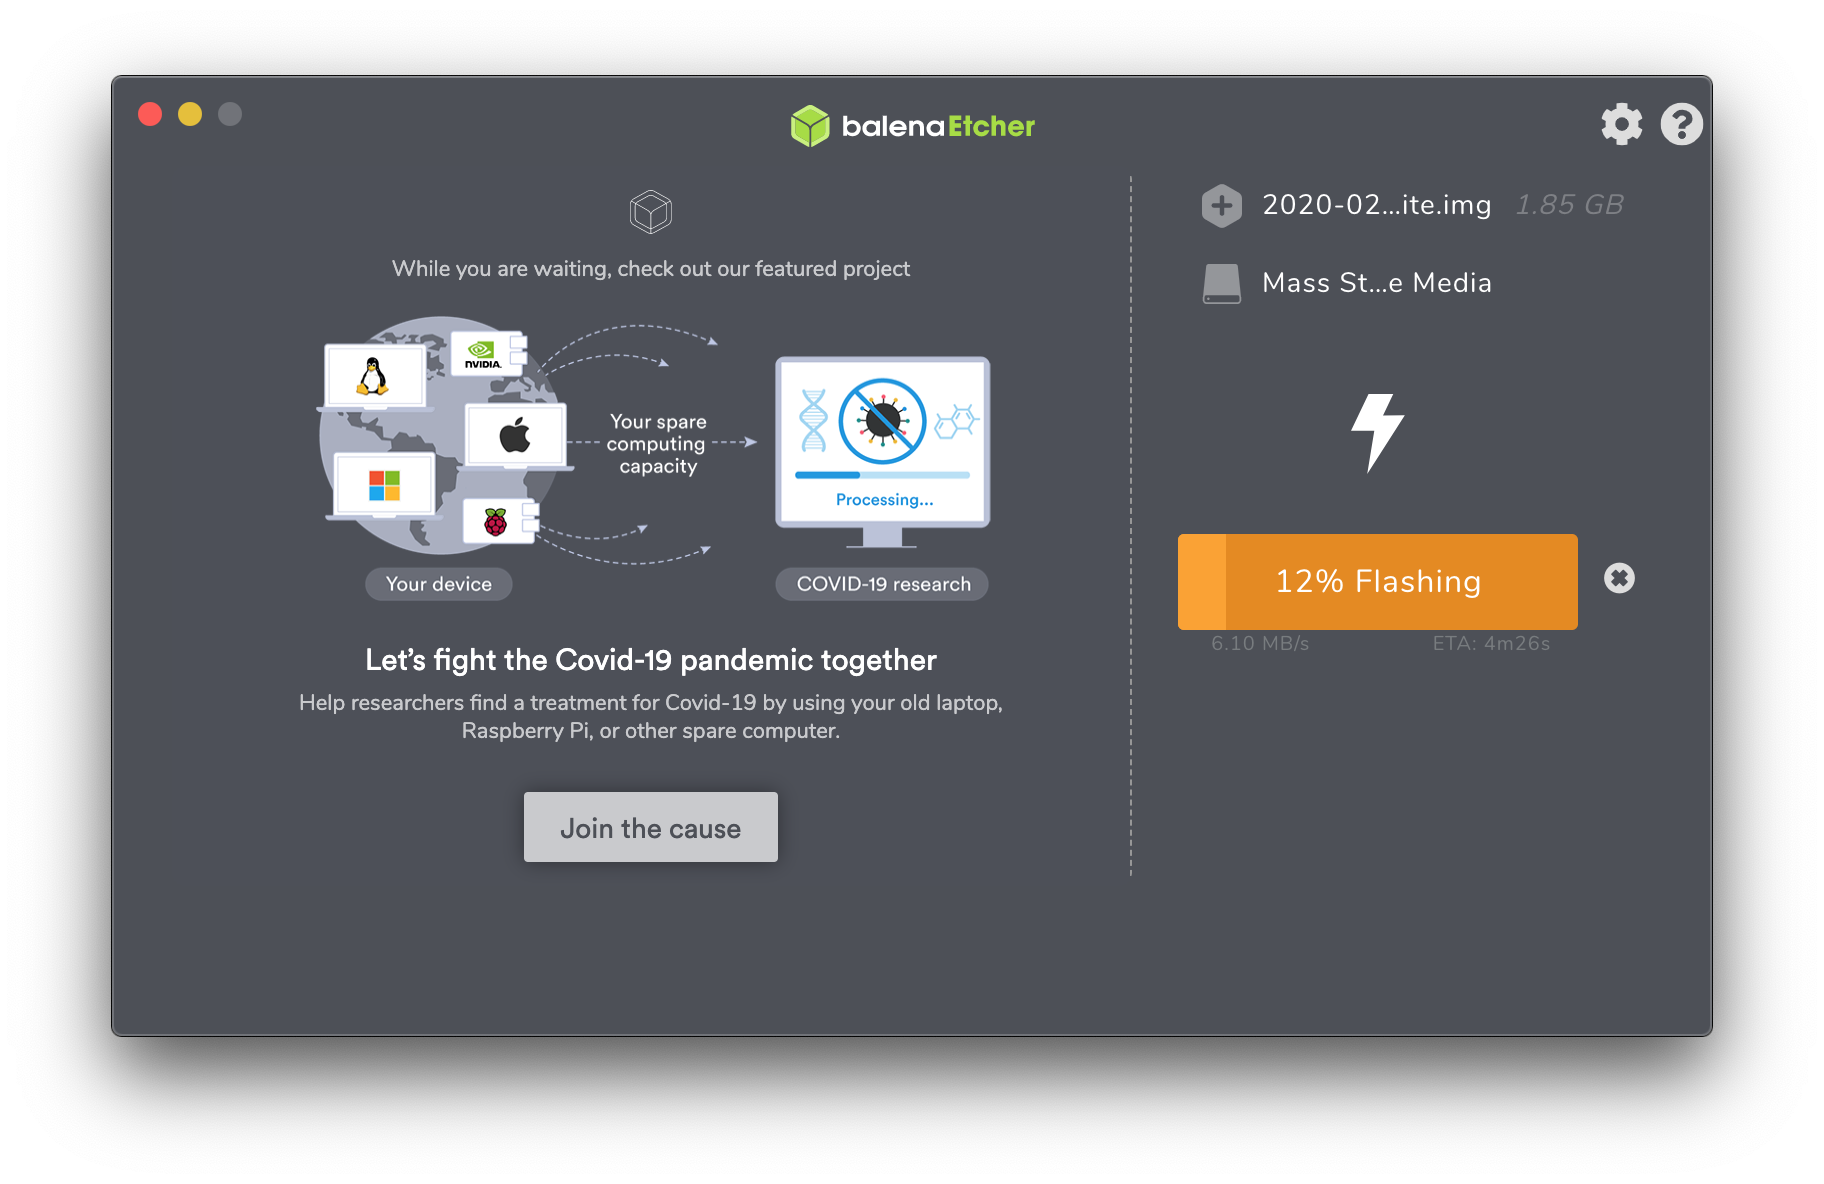
选择把镜像写入到SD中
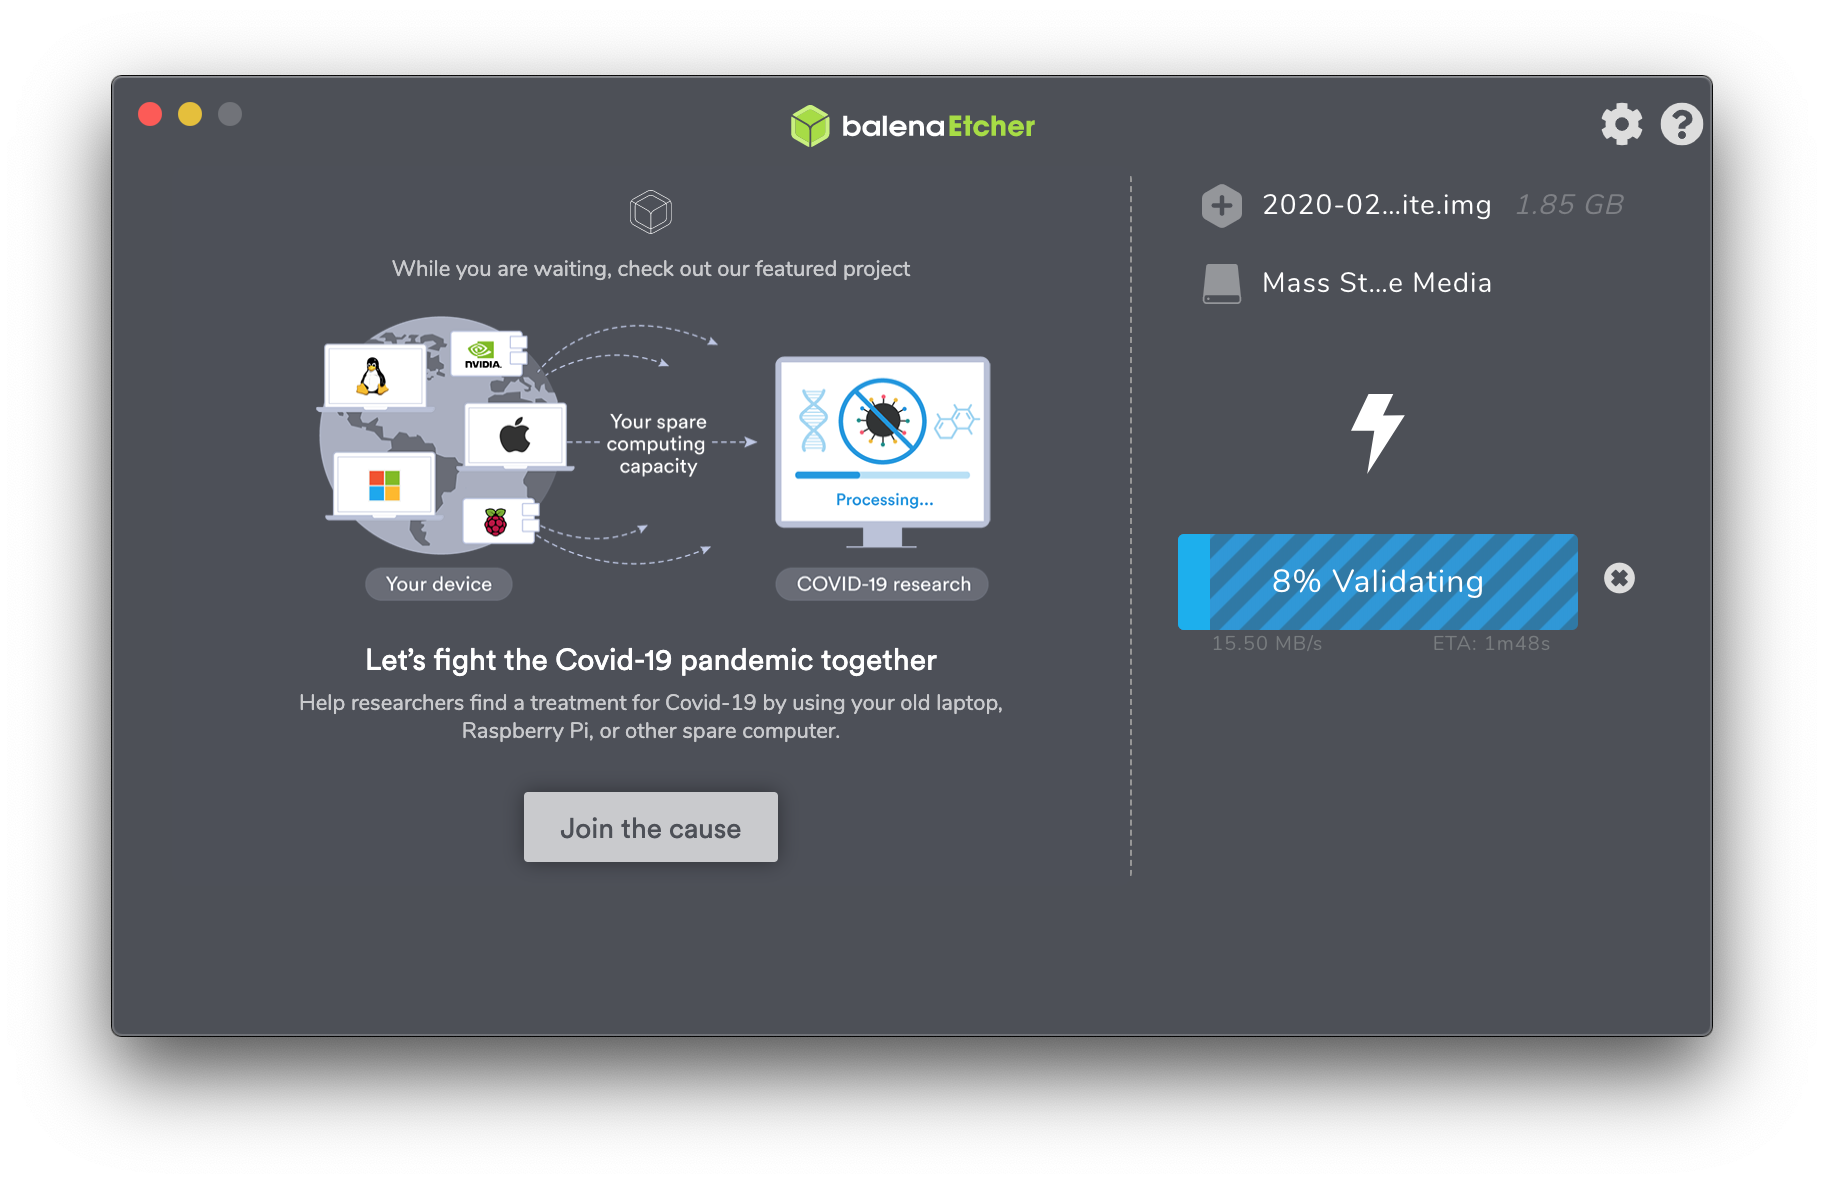
镜像写入完毕会进行校验
校验完毕则镜像已经成功的写入到SD卡中了
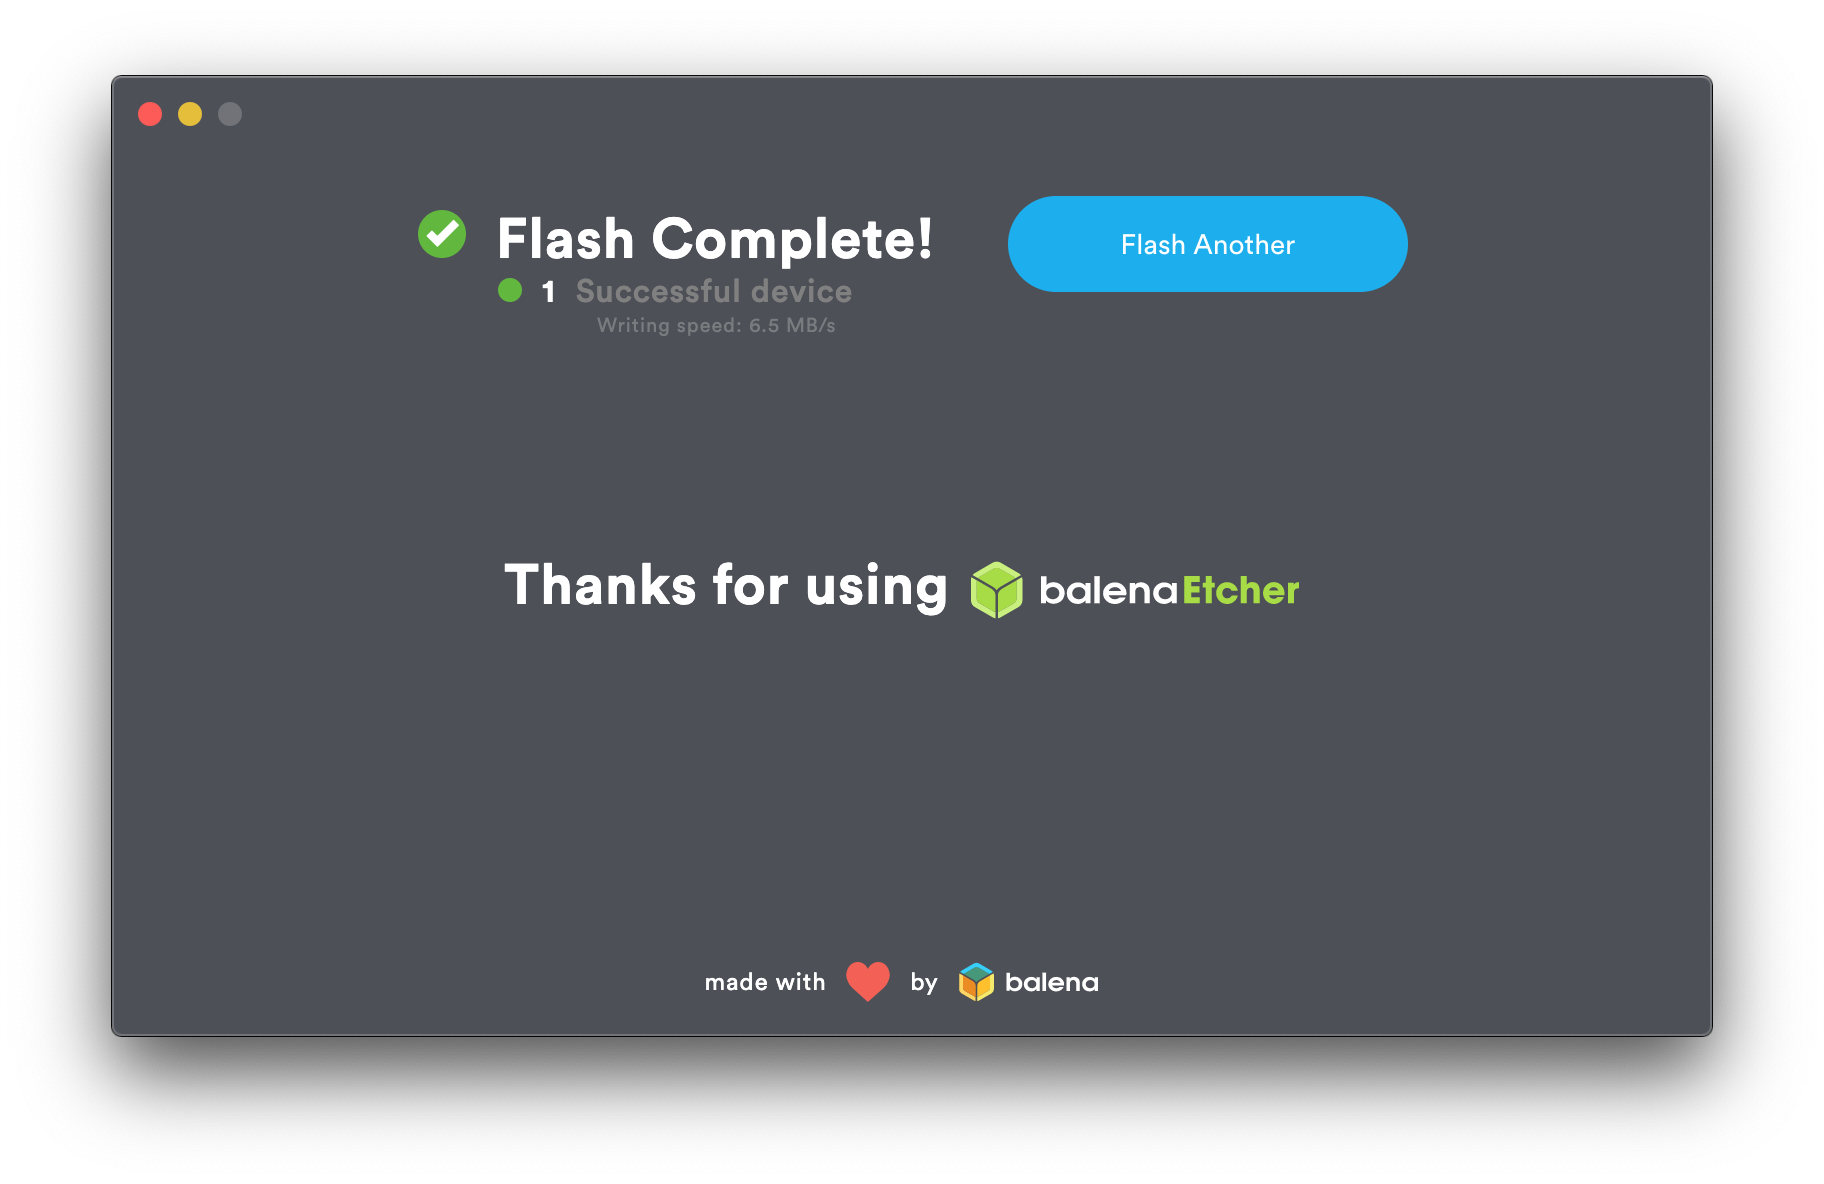
镜像写入成功后,该SD卡的名称被修改为boot,我们需要对镜像做一些修改使得树莓派支持Wi-Fi自动连接和SSH访问。
首先我们打开树莓派镜像数据的文件夹
cd /Volumes/boot
之后我们创建Wi-Fi设置的文件
vi wpa_supplicant.conf
并输入你的Wi-Fi设置,这些设置使得树莓派在启动时可以自动的连接到你的无线网络
country=CN
ctrl_interface=DIR=/var/run/wpa_supplicant GROUP=netdev
update_config=1

network={
    ssid="your_wifi_ssid"
    psk="your_wifi_password"
    key_mgmt=WPA-PSK
}
之后我们继续在当前目录创建ssh文件以使得树莓派支持SSH访问
touch ssh
以上的设置修改完毕之后我们就弹出SD卡,然后把SD卡插入到树莓派中并给树莓派通上电,之后树莓派就会自动启动并连上你的Wi-Fi无线网络。
随后我们就可以使用SSH访问树莓派了,树莓派SSH的默认密码是raspberry
➜ ~ ssh pi@192.168.0.102
The authenticity of host '192.168.0.102 (192.168.0.102)' can't be established.
ECDSA key fingerprint is SHA256:EgcNGDSXadaDuD9f2xbzaP753xzRpEc3pCh6Xrr3Lfw.
Are you sure you want to continue connecting (yes/no)? yes
Warning: Permanently added '192.168.0.102' (ECDSA) to the list of known hosts.
pi@192.168.0.102's password:
Linux raspberrypi 4.19.97-v7+ #1294 SMP Thu Jan 30 13:15:58 GMT 2020 armv7l

The programs included with the Debian GNU/Linux system are free software;
the exact distribution terms for each program are described in the
individual files in /usr/share/doc/*/copyright.

Debian GNU/Linux comes with ABSOLUTELY NO WARRANTY, to the extent
permitted by applicable law.

SSH is enabled and the default password for the 'pi' user has not been changed.
This is a security risk - please login as the 'pi' user and type 'passwd' to set a new password.

pi@raspberrypi:~ $
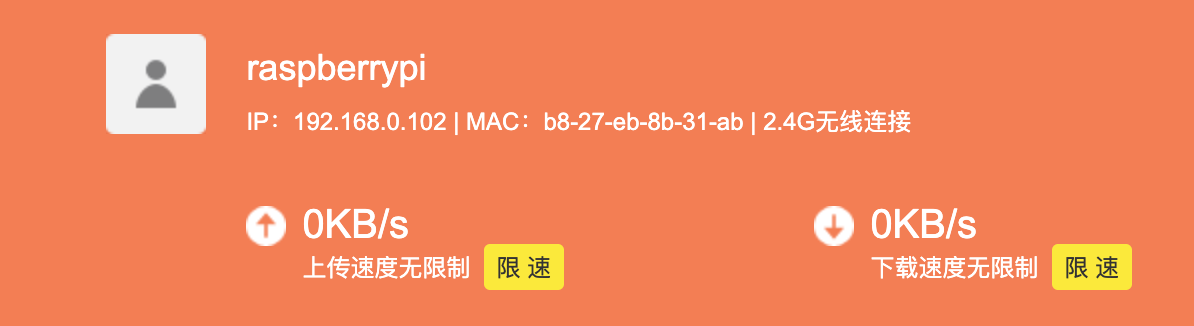
至此树莓派已经成功启动并且可以进行SSH远程访问了,你也可以在路由器管理界面把树莓派的MAC地址和IP地址进行绑定,这样之后就都可以使用固定的IP地址访问树莓派了。
本文链接: https://www.nosuchfield.com/2020/05/01/Install-system-on-RaspberryPi-3b/
版权声明: 本博客所有文章均采用 CC BY-NC-SA 4.0 许可协议,转载请注明出处!